Unlocking Creativity: How to Make a Timelapse Video
With the rise of social media and digital marketing, timelapse videos have emerged as a powerful tool to convey messages in a compelling way. Timelapse videos can transform ordinary scenes into extraordinary visual experiences, making them incredibly popular among photographers, especially those within the realms of real estate photography and other photography services.
The Essentials of Timelapse Photography
Before diving into the process of creating a timelapse video, let’s first discuss what timelapse photography is. In simple terms, timelapse photography is a sequence of photographs taken at set intervals to record changes that take place slowly over time. This technique can be utilized in various scenarios, from capturing stunning sunsets to recording bustling city streets. As a photography store or professional photographer, understanding the fundamentals is crucial to your success.
What You Need to Get Started
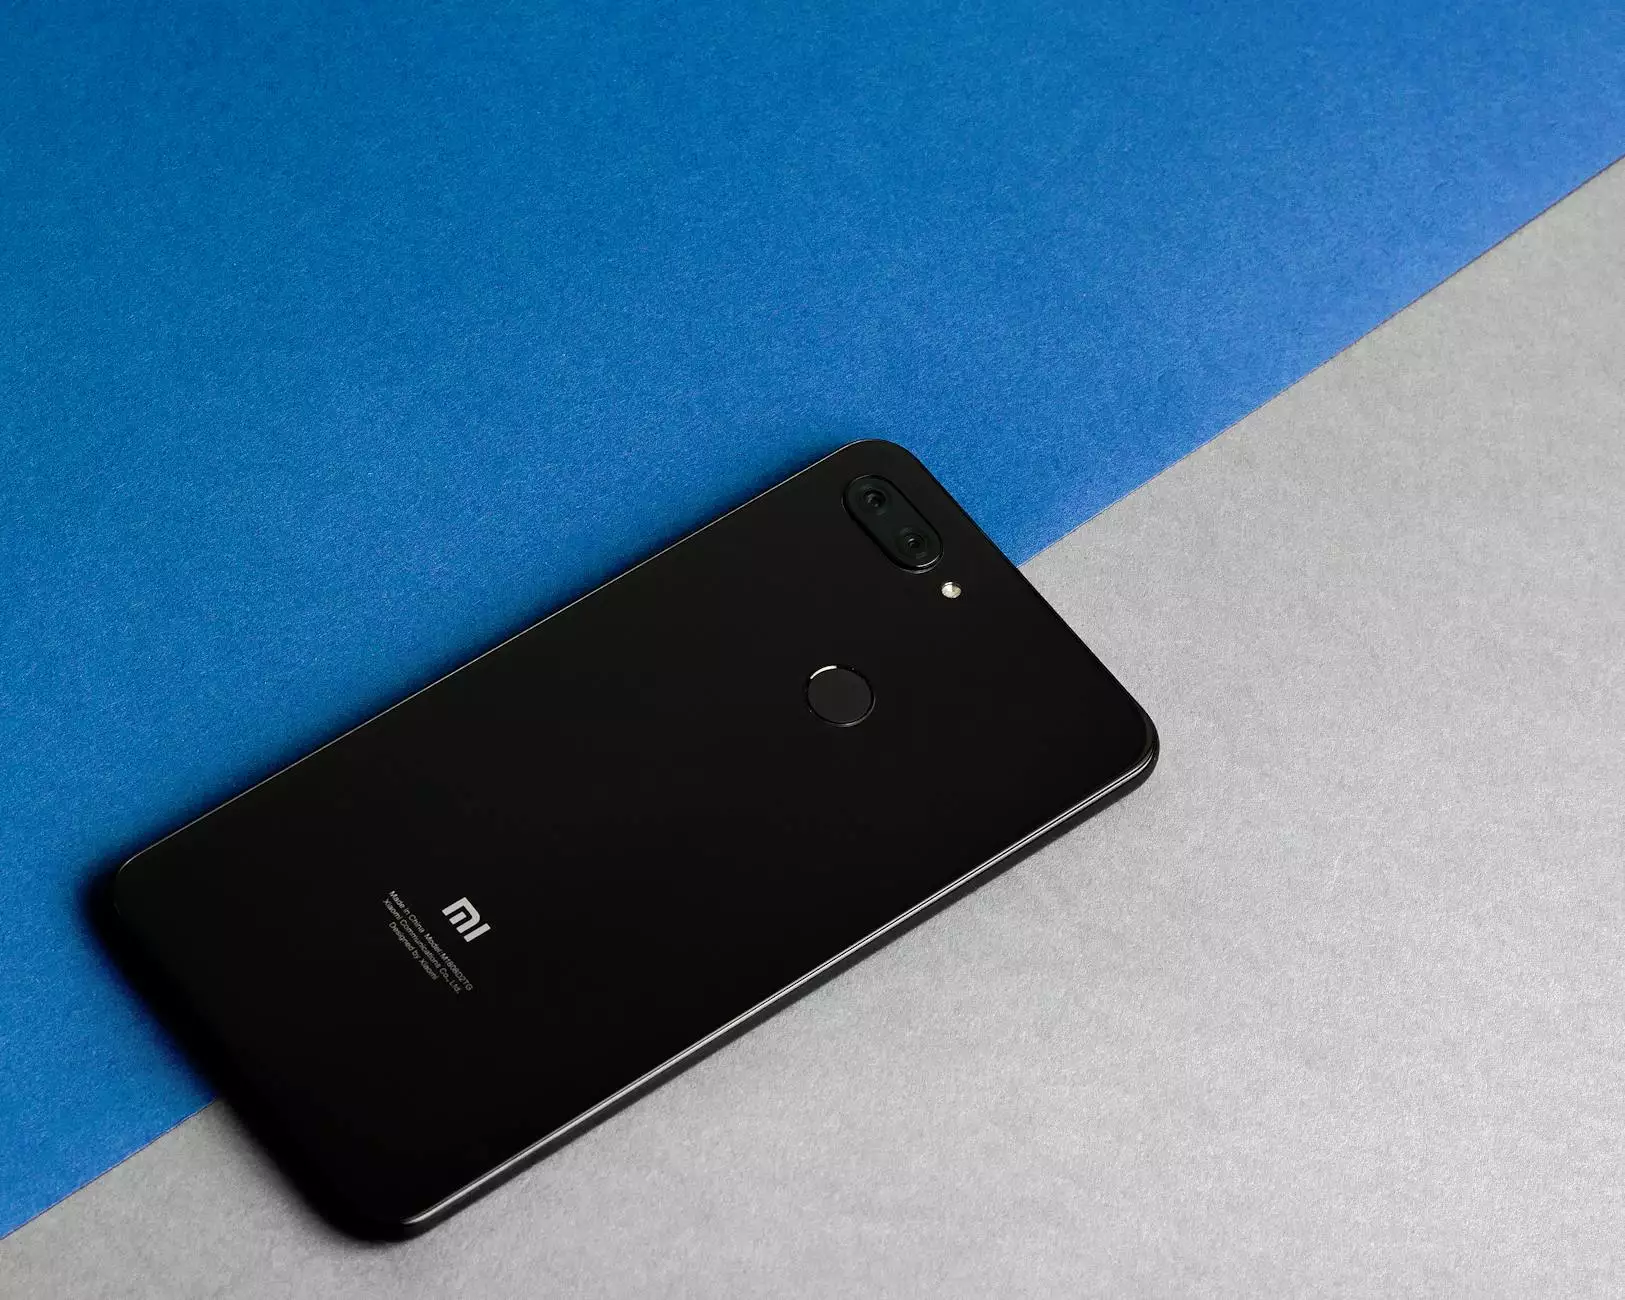
- Camera: A camera with manual settings is highly recommended. DSLRs or mirrorless cameras are excellent choices.
- Tripod: Stability is critical in creating smooth timelapse videos. A sturdy tripod will help avoid any shakes.
- Intervalometer: This device triggers the camera at set intervals, allowing you to capture high-quality images without needing to manually take each shot.
- Edit Software: Post-production software, such as Adobe Premiere Pro or Final Cut Pro, is essential for creating the final video.
How to Make a Timelapse Video: Step-by-Step
Step 1: Choose Your Subject Wisely
The first step in your journey to make timelapse video is selecting a subject that would benefit from the effect. Consider captivating scenes like:
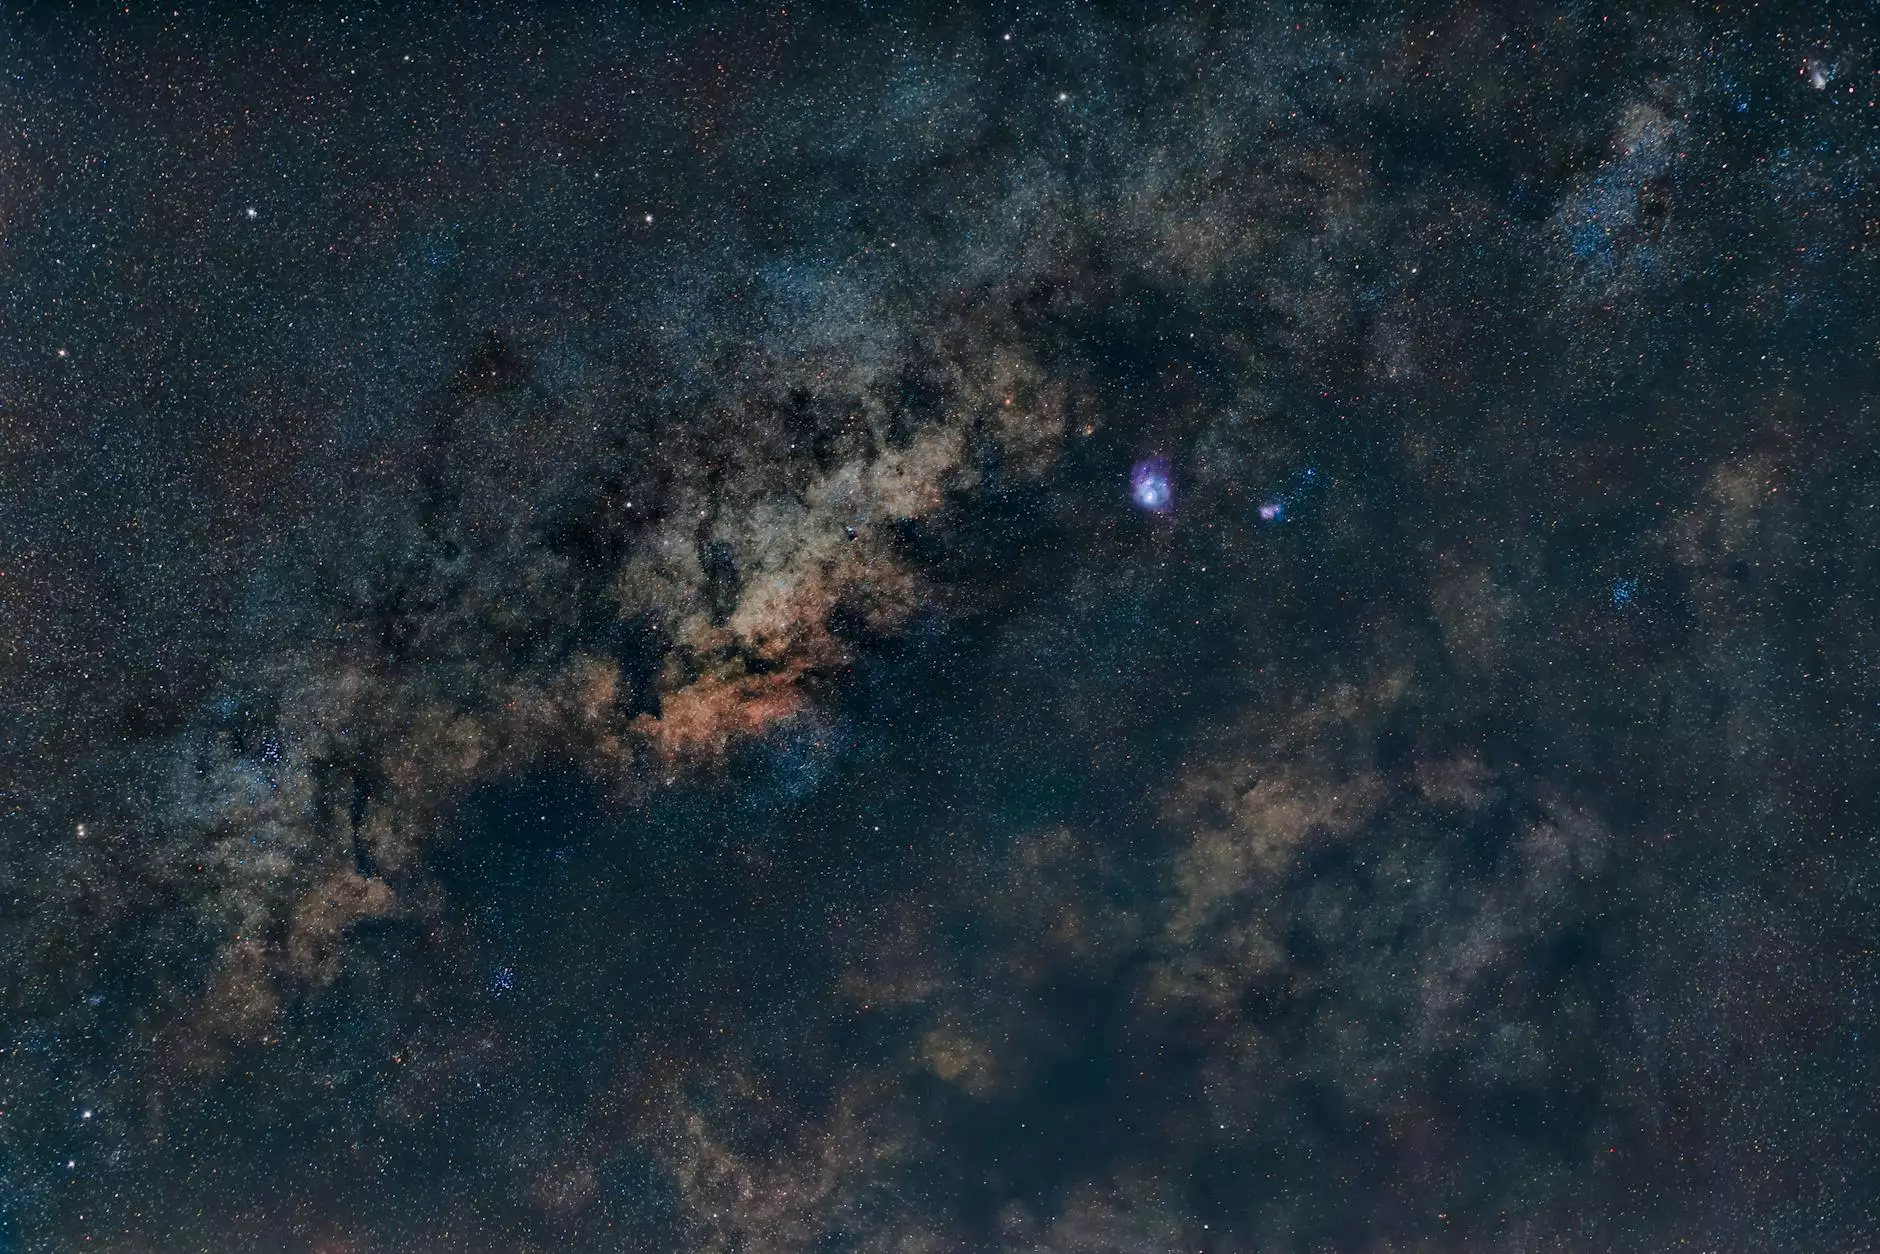
- Sunrises and sunsets
- Construction project progress
- Flower blooming
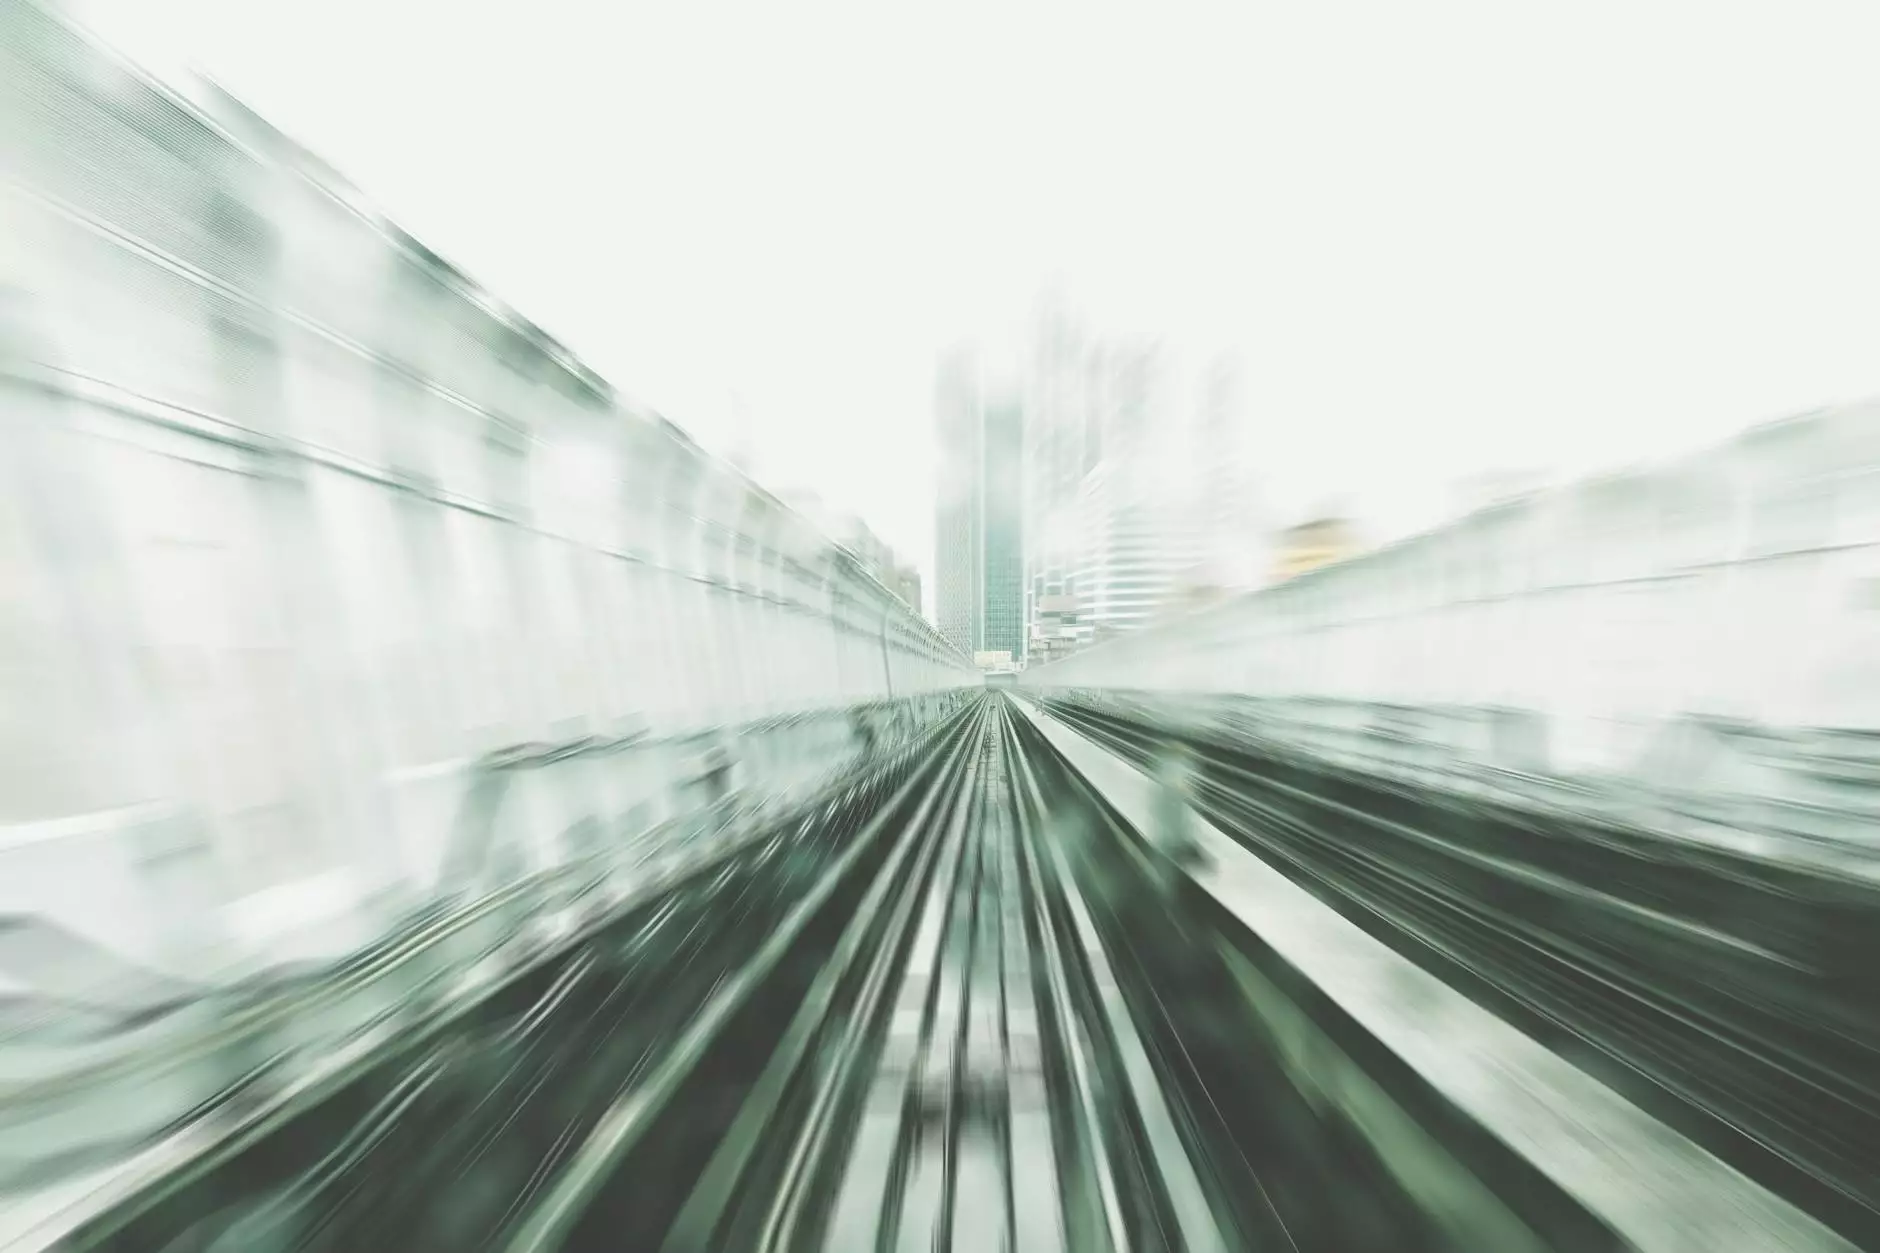
- Crowd movement in a busy street
- Weather changes
Step 2: Set Up Your Equipment
Once you’ve chosen your subject, it’s time to set up your equipment properly. Follow these guidelines for optimal results:
- Secure the Camera: Mount your camera on a tripod. Ensure that it is stable and that you have a clear view of your subject.
- Adjust Settings: Use manual settings to maintain consistent exposure. Set your ISO, aperture, and shutter speed according to the lighting conditions.
- Use an Intervalometer: Determine the interval between shots based on your subject’s change rate. This could be anywhere from 1 second to several minutes.
Step 3: Take Your Shots
After confirming that everything is in place, initiate the shooting process. Monitor the camera to make sure it continues capturing images as planned. It's essential to have a clear understanding of how long the final video will be. As a general guideline, if you plan a video of 30 seconds at 30 frames per second, you’ll need to take 900 photos.
Step 4: Edit Your Timelapse Footage
The post-production phase is where the magic of timelapse truly shines. Use video editing software to compile your images into a cohesive video. Here’s a quick overview of what you should do:
- Import Images: Load all your images into the editing software in sequence.
- Set Frame Rate: Adjust the frame rate of your video according to your preference. Experiment with various speeds to see what works best.
- Add Music and Effects: Enhance your timelapse video by adding background music or sound effects that fit your theme.
- Export Your Video: Choose the appropriate format for your audience, whether for web use or social media sharing.
Practical Applications of Timelapse Videos
The applications of timelapse videos are vast and varied, particularly in fields like real estate. Here’s how timelapse can be utilized effectively:
In Real Estate Photography
Timelapse videos can immensely benefit real estate agents and photographers by providing potential buyers with a unique perspective. Here are a few practical uses:
- Documenting Home Renovations: Showcase the transformation of a property as renovations progress.
- Highlighting Neighborhood Changes: Capture the bustling energy of local communities as they evolve over time.
- Enhancing Listings: Using timelapse in property listings can add dynamic elements that make the listing stand out.
Social Media and Marketing
In an era dominated by visual content, sharing timelapse videos on social media platforms can significantly enhance engagement. Consider strategies such as:
- Creating Short Timelapse Clips for Instagram Stories
- Using Longer Timelapse Videos for YouTube Channel Growth
- Incorporating Timelapse into Marketing Campaigns to Captivate Audiences
Best Practices for Creating Timelapse Videos
To truly stand out in a saturated market, consider the following best practices when creating your timelapse videos:
Plan Ahead
Thorough planning can make or break your timelapse project. Take time to scout locations, understand lighting, and anticipate changes in your subject.
Experiment Freely
Don’t be afraid to experiment with intervals, angles, and editing styles. Every project is an opportunity to develop your skill and discover new storytelling methods.
Seek Feedback
Engage with peers and audiences to gather constructive feedback. This can aid your learning process and improve your future projects.
Conclusion: The Future of Timelapse Videography
The ability to make timelapse video is not just a skill; it’s an art form that holds immense potential for all photographers. With the right equipment, a well-thought-out plan, and in-depth knowledge of editing, you can create captivating timelapse videos that resonate with audiences. Whether you’re a seasoned photographer or just starting, learning the nuances of timelapse videography will undoubtedly enhance your portfolio and open doors to exciting opportunities within the photography services industry.
At Bonomotion, we encourage aspiring photographers to explore their creativity through timelapse videos. By understanding the technical and artistic components at play, you can position yourself for success in a competitive landscape.